Sump Pump

Four steps to a dry, usable space in your basement

Installing a sump pump and waterproofing system is the least disruptive and most effective way to keep a basement dry all the time and 911 Foundation & Roofing technicians are expert to install a complete sump pump system.

Installing a sump pump and waterproofing system
Placing the sump pump liner
The sump pump installation
Restore the floor and bury discharge line

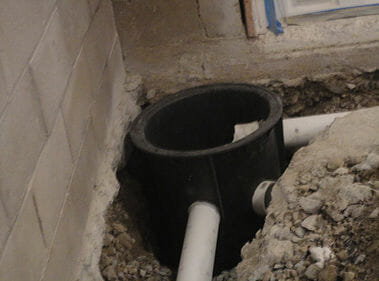
  1. Placing the sump pump liner: First, a sump pump pit is excavated for the liner and pump to be placed in. This protects the sump pump from the mud and debris. When placed in a small pit, a sump pump can pump water out faster than it can fill the liner, causing them to turn on and off quickly and burn out sooner. Sump pits that are too large tend to go too deeply into the ground, pumping out water far below your home, causing unnecessary work and electricity usage. Sump pumps are most effective at removing water from under your basement floor when located in the lowest spot of the floor. 911 Foundation and Roofing specialists will determine the best spot by using a laser level or a PVC feed line.
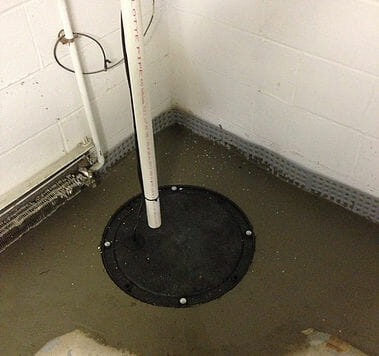
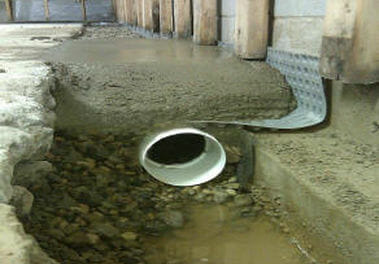
  2. The sump pump installation: A special outlet connects the perimeter drain to the sump pump system and clean gravel is backfilled around the sump pump liner. This gravel helps to keep your sump pump system as clean as possible, discouraging silt and sediment from entering the liner. An airtight sump pump lid including rubber grommets around all pipes and wires, keeps odors and humidity from rising out of the sump pit, while also preventing items and debris from falling in from the basement floor. This secure lid on your liner and it is also excellent in preventing animals and children from attempting to play in the water. If you have a secondary pump installed in the pit, an additional discharge line will be installed. This prevents the pipes from being overwhelmed and also ensures the pumps won’t pump back and forth between each other. Discharge lines should NEVER be tied together on the inside of your home.
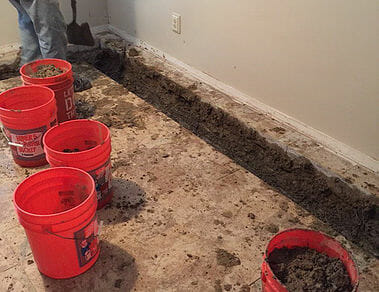
  3. Restore the floor and bury discharge line: To complete the sump pump installation, the floor is restored flush for a clean and attractive look. Our system does not leave a gap around the perimeter of the basement floor which can collect dust, debris, and other items that can clog your waterproofing system. This helps ensure better drainage and a more reliable system, and it provides a clean, neat, and professional basement repair. Outside, an anti-freeze device is installed. The discharge line is buried underground, while the installer is careful to remove sections of the lawn in whole pieces before making the trench for the pipe. This helps to ensure the least disruption to your landscaping throughout the installation. A special outlet is installed flush with the ground and is safe for lawn mower or lawn tractor traffic.
  4. The cleanup and finishing touches: Our sump pump installation experts take extra care to leave your basement clean, neat, and clear of debris for you at the end of the installation. Dust is cleaned from the basement floor and the discharge line outside is inspected to be sure that the water is being discharged to an appropriate location. We remove all debris in which we create, and most times customers comment their basement is cleaner than before we started. To allow for future testing or inspection, we install several “ports” in the perimeter drain, where a hose or dehumidifier drainage line can be inserted. During annual checkups and sump pump maintenance, this helps us with testing and inspection.

Contact us today for a FREE sump pump installation estimate!

Free Estimate